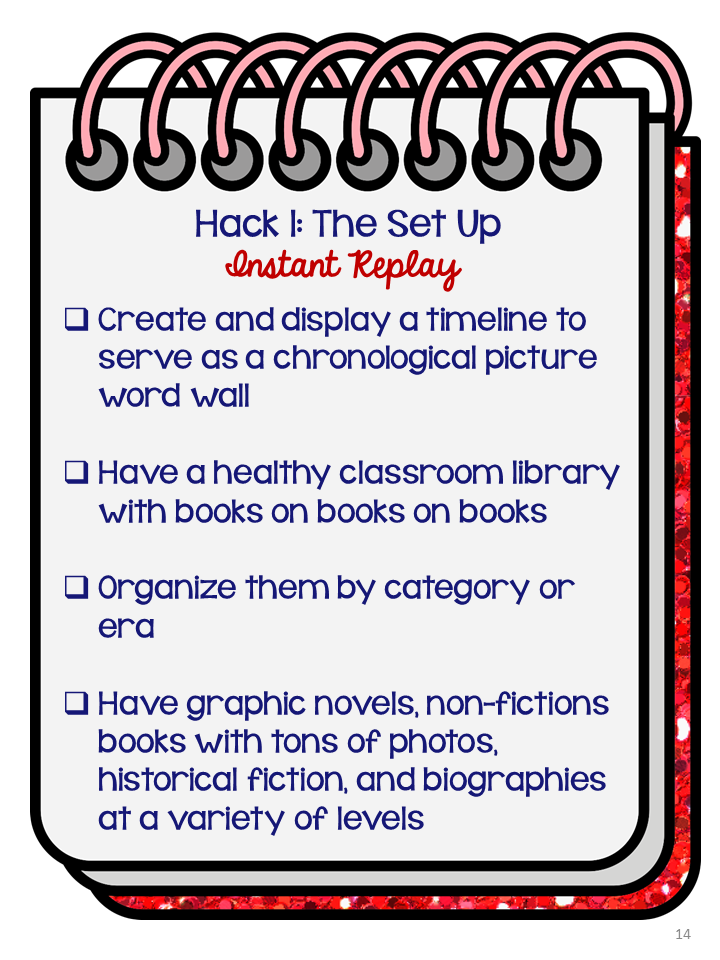
The first step to setting your English Language Learners up for success is your actual classroom set up! Plastering those store-bought generic posters isn’t going to do the trick. C’mon, 90% of the time those just collect dust without any students looking at them! One thing I suggest is having a timeline of important events. I have done this in a variety of ways. You can build it as you go and discuss each unit. We all have the best of intentions at the beginning of the school year, right? Well any time I used this method I ended up rocking out Civil War and Reconstruction. Unfortunately, my content spanned until The War on Terrorism. If you do this, you can make a spare set of the timeline cards to use as a station activity! I ended up using the partial set as a Civil War station the next year!
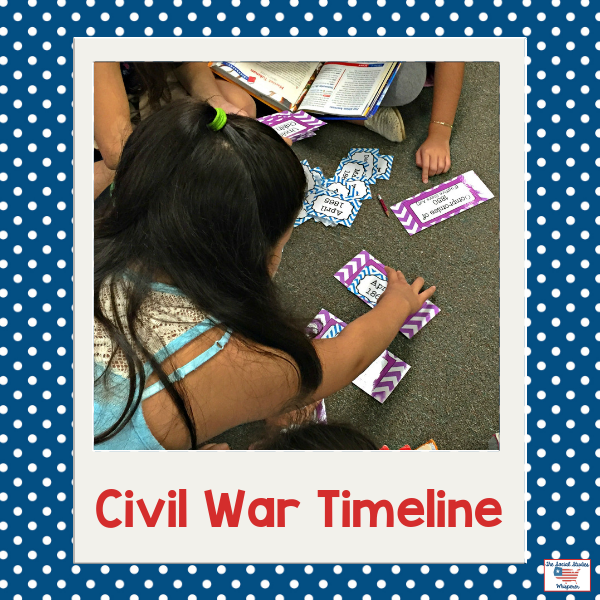
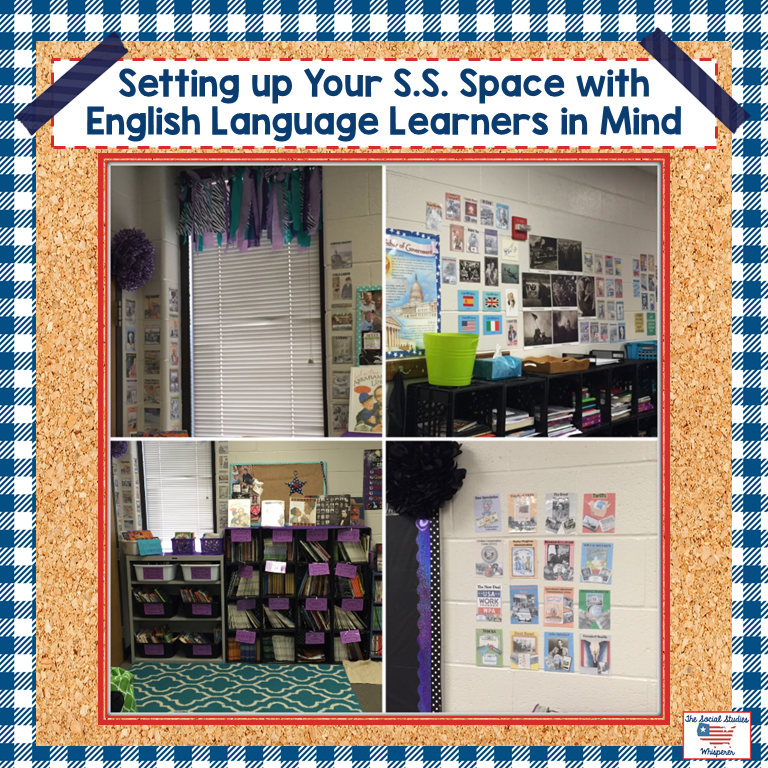
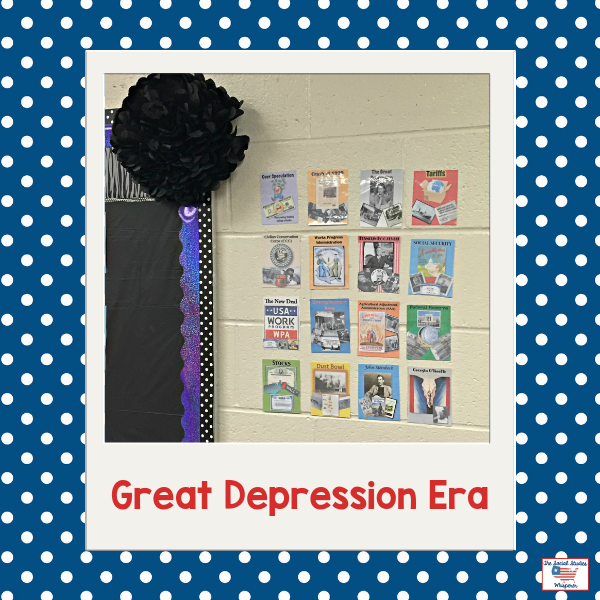
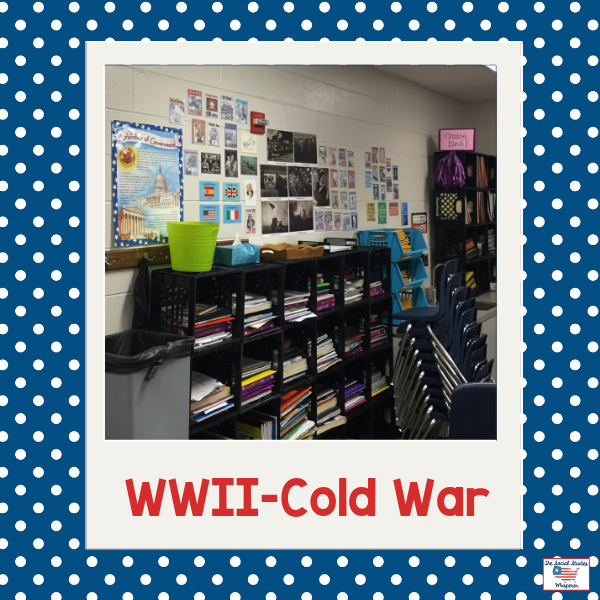
I prefer the way I made a time line for 2015-2016. I made my entire classroom the timeline and used picture cards with labels that I had purchased on Teachers Pay Teachers. It is actually very helpful for ELLs to have a preview of material so I would suggest going ahead and plotting out the entire year’s span of events on your timeline. This could be one wall, a bulletin board, or even grander vision! I started with The Civil War in the front of the classroom and kept going! I was pleasantly surprised when we got to The Cold War and several of my students recognized certain images from seeing them on the wall all year!! That’s because they were strategically placed by their teacher right near the sink and the kids’ “lockers” (crates zip-tied together).
Do-It-Yourself Timeline Tips:
You could make this as simple as handwritten index cards and pictures from Google images or the National Archives site for American History. You could also type the events and glue them on construction paper. And this is something you could start at any point in the school year. Be creative and let kids help you make it! I also ideally would have had students keep a timeline in their Interactive Notebooks (more about that coming up with another play), but don’t think I ever followed through with this.
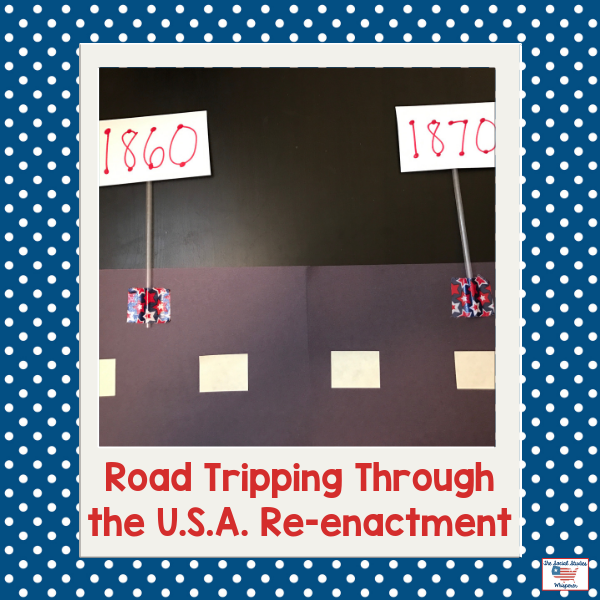
If you really want to go big or go home, take on a huge hallway project and don’t let anyone help (#guilty). Several years ago, I built a giant timeline in the hall for the entire grade level. I think I called it “Road Tripping Through History” after taking inspiration from Pinterest. I made a road out of black construction paper and tiny yellow post-it’s and the decades were street signs made out of straws. Each class was given 2 decades to illustrate. The students picked an event that they thought was significant and drew a picture and labeled it on an index card. And it was ok with me if there were duplicate event cards. I would put them in a row. Having that extra support out in the hall was really helpful for all students and served as a great preview for 4th grade. Kinda kicking myself for not taking a picture of it, but I created a dramatic reenactment for you! That was before I was on Instagram.
Another part of a set-up to factor in is your classroom library. I always told my students that “Language Arts and Social Studies are married.” That’s because they go hand-in-hand. A Social Studies classroom should be literacy-rich. With the big push for informational texts that comes with CCCS and other standards updates, why would you not kill two birds with one stone and integrate?
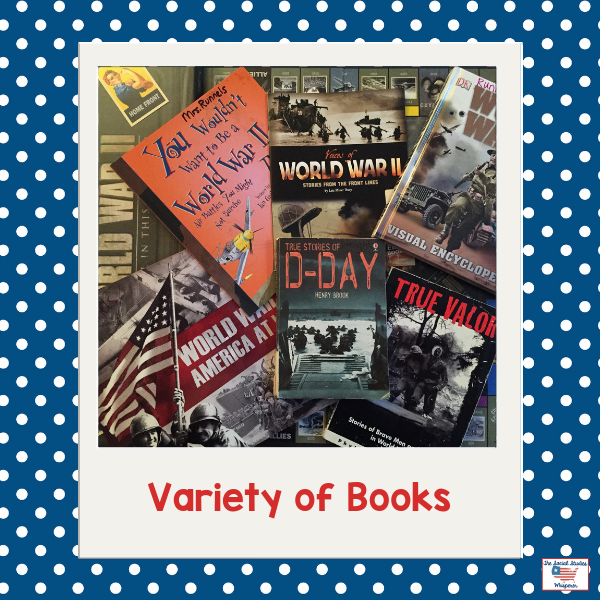
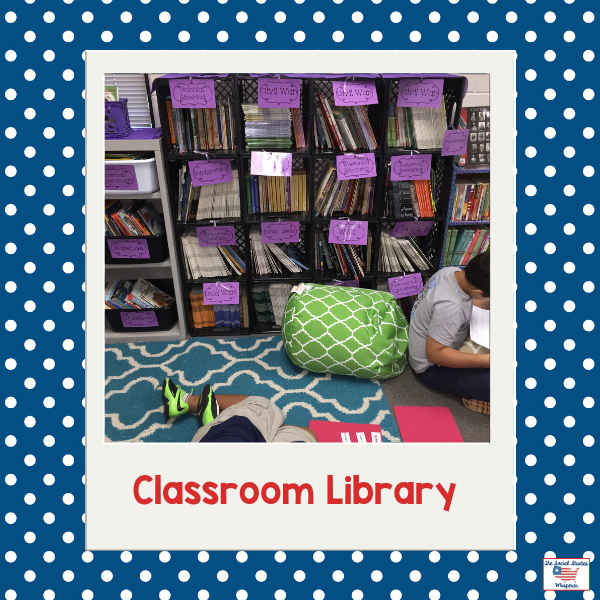
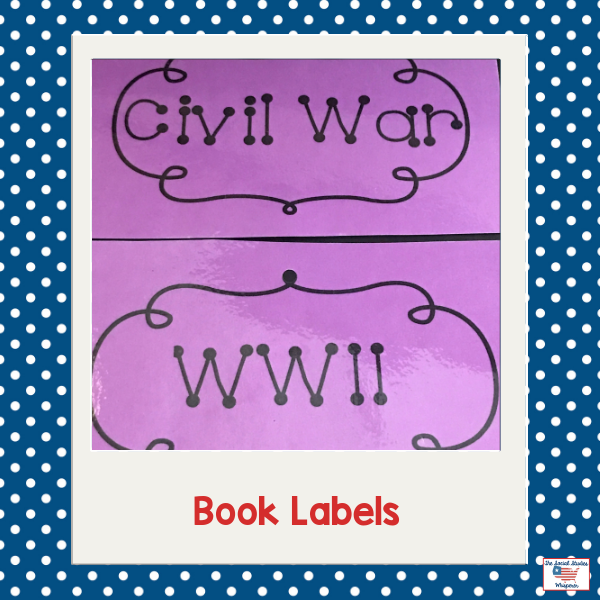
I organized my classroom library by historical eras using labels I made myself in like 5 minutes. I just typed them up, printed on cardstock, and laminated them! I hole punched them and tied them to the crates with ribbon. Y’all, the struggle to capture a pic of something laminated without a glare is real! I had a mix of historical fiction, non-fiction, and biographies in a variety of levels available. I believe in having tons of graphic novels and books with real photographs! You can see several examples here. Highly recommend the “You Wouldn’t Want to Be” series! You can find them on Amazon or Scholastic’s website!
I would pull the books from the current topic we were studying and put them in a separate place in the room. Sometimes I would stick stacks of books at each table group, too! And I would often encourage students to pull from that when they were finished with work (after we had the unfinished work convo). There was no “Wimpy Kid” reading or random drawing in Social Studies! I would also do integrated read-alouds whenever possible. As you can see in the picture that was a pretty popular place to work during station time! Most of the stations involved literacy anyways! Spoiler to some upcoming info in another hack!
Here is a link to the rest of the series:
- Introduction: https://www.thesocialstudieswhisperer.com/2019/07/introduction-to-meeting-the-needs-of-english-language-learners-during-social-studies/
- Posting Learning Objectives: https://www.thesocialstudieswhisperer.com/2019/07/posting-learning-objectives-with-english-language-learners-in-mind/
- Meeting the Needs of Beginning Language Learners: https://www.thesocialstudieswhisperer.com/2019/07/meeting-the-needs-of-beginning-language-learners-in-social-studies/
- Building Listening, Speaking, and Vocabulary Skills in S.S.: https://www.thesocialstudieswhisperer.com/2019/07/building-listening-speaking-and-vocabulary-skills-in-social-studies/
- Non-Verbal Cues: https://www.thesocialstudieswhisperer.com/2019/07/supporting-english-language-learners-in-social-studies-with-non-verbal-cues/
- Learning Stations: https://www.thesocialstudieswhisperer.com/2019/07/using-learning-stations-in-social-studies/
- Incorporating the Arts: https://www.thesocialstudieswhisperer.com/2019/07/the-importance-of-incorporating-the-arts-into-social-studies/
- Even Playing Field: https://www.thesocialstudieswhisperer.com/2019/07/giving-english-language-learners-an-even-playing-field-in-social-studies/
- Picture Dictionaries: https://www.thesocialstudieswhisperer.com/2019/07/how-to-make-picture-dictionaries-to-support-your-english-language-learners/
- Being Prepared Ahead of Time/Resource Database: https://www.thesocialstudieswhisperer.com/2019/07/how-to-be-prepared-ahead-of-time-to-meet-the-needs-of-english-language-learners-in-social-studies/
The ideas from this post come from my e-book called Hip History Handbook for English Language Learners. Check it out by clicking on the picture.